Delishuss Blog

Just another WordPress.com site

Mars Bars Squares June 16, 2018

Filed under: Cakes,Desserts,Uncategorized — delishuss @ 7:42 am
Tags: , , , ,

I’ve made these twice recently for different BBQs and they go down a treat with adults and children alike. They are so easy to make. It would be a great recipe to get the kids involved with and take dibs on who likes the bowl.

I don’t have any photos yet but you can rest assured that anything with chocolate, butter and mars bars is going to taste good.

This recipe makes two tins of 21 x 21 cm size, about 18 portions. It comes from the Avoca Cafe Cookbook 2. The Avoca cafes are my heaven, I love the stores, the food and all of it’s home-wares. Worth a visit, if you are a foodie. The best ones are Powerscourt Gardens and Rathcoole in Ireland.

Ingredients

200g butter

6 x 65g Mars Bars

200g Rice Krispies or Coco Pops

250g milk chocolate


Method

  1. Cut the Mars Bars and butter into small chunks. Add them into a heated saucepan (medium heat).
  2. Melt the butter and Mars Bars.
  3. Fill a saucepan 3/4 full of water. Place a large bowl over the saucepan and turn on the heat to medium. Add the chocolate and let it melt. Stir occasionally.
  4. Mix the melted butter and Mars Bar mixture with the Rice Krispies in a large bowl.
  5. Spread the mixture into the tin you plan to use, leveling it out.
  6. Once the chocolate is melted, pour over the chocolate and spread it evenly.
  7. Leave to set in the fridge or at room temperature if it’s cool enough. When you are ready to eat, turn the mixture out on a board and cut into squares.
Advertisement
 

Thai Pies

Filed under: Chicken,Favourites,Tarts & Pies,Uncategorized — delishuss @ 6:29 am
Tags: , ,

20180519_113908

This is  take on Donna Hay’s Red Curry Pork Pies from her Season’s Cookbook. I was looking for a nice recipe for a picnic in the lovely Roma Street Parklands in Brisbane. Donna’s recipe uses pork; I swapped it out for chicken thigh meat and I’ve added some veggies to bulk them up.

I told my partner that I was making pies, I think he was slightly disappointed when he realised that they weren’t steak and kidney. He was won over when he actually tasted them. They are banging with flavour and just that little bit different.

Utensils: You’ll need 2 round pastry cutters, 1 slightly smaller than the other for the top and the bottom of the pies. A metal pastry muffin tin. I had neither of these so I had to improvise. They were a bit rugged looking but the flavour certainly wasn’t compromised.

Makes 12 pies

Ingredients

2 tablespoons oil

1 large brown onion, peeled and diced

1.2 kg chicken thigh fillets, chopped into bite sized chunks

2 tablespoons red curry paste

1 red pepper, finely diced

1 yellow pepper, finely diced

1 cup coconut milk

1 cup coconut cream

1 cup chicken stock

5 x 200g sheets store-bought shortcrust pastry, thawed

1 egg, lightly beaten

Oil spray for greasing the pastry tin.


Method

  1. Preheat the oven to 200 degrees celsius.
  2. Heat a large saucepan over a high heat. Add 1 tablespoon of the oil and onion and cook for 2 minutes. Add in the peppers and fry for a further 5 minutes until they are starting to become soft.
  3. Remove the vegetables from the saucepan and set aside temporarily while you brown the meat.
  4. Add the remaining oil to the pan, allow to heat and then add the meat and cook until brown. Stir in the curry paste and cook off for a minute or 2.
  5. Re-add the veggies. Add the coconut milk, the coconut cream and the stock to the saucepan and bring to a simmer. Cook for about 20 minutes until the sauce has thickened. You don’t want it to be too runny or you’ll get a soggy bottom for your pies and no one likes a soggy bottom.
  6. Set the sauce aside while you prepare your pastry.
  7. Cut out 12 of the larger pastry rounds and 12 of the smaller pastry rounds. You can get artistic or get the kids involved and make some leaves for the top of the pies with the leftover pastry.
  8. Grease the pastry tin. Line the holes with the larger pastry rounds.
  9. Spoon in the filling. Don’t overfill or the sauce will ooze out while baking.
  10. With a pastry brush, brush the egg around the edges of the pastry round.
  11. Add on the top pastry round and brush with the remaining egg.
  12. Place in the oven and bake for 30 mins or until golden brown on top.
  13. These are good eaten hot or cold. I just had a thought, they’d be delishuss with a mango chutney.


Carbonara Revisted May 20, 2018

Filed under: Fast Food,Favourites,Italian,Meat,Pasta,Uncategorized — delishuss @ 9:02 am
Tags: ,

20180501_184833

Pasta is my comfort food. This recipe is so simple and so satisfying. It’s from the Matt Preston Fast, Fresh and Unbelievably Delicious cookbook. It’s a great cookbook, it’s one of the cookbooks that I cook from the most. Lots of no fuss recipes and so many left that I want to try.

I’ve tried many methods for cooking a poached egg with varying degrees of success. My method is below but I’ve also given you Matt’s as well. The choice is yours.

Serves 4

Ingredient

  • 500g spaghetti
  • 6 rindless bacon rashers cut into long thin strips
  • 4 eggs
  • Extra virgin olive oil
  • 200g parmesan cheese, freshly grated
  • Freshly ground salt and pepper

Method

  1.  Cook the spaghetti as per the packet instructions with salted water. Drain once cooked.
  2. Add some olive oil to a heated pan and fry the bacon until nice and crispy.
  3. While the bacon is frying, it’s time to poach your egg. choose from either method below:

Grainne’s poached egg method

For best results, do one egg at a time.

  1. Fill a deep pan with some salted water to a rapid boil.
  2. Crack an egg in a ramekin.
  3. Once the water has come to a rapid boil, reduce to a simmer.
  4. Make a whirlpool in the water and slowly drop the egg into the whirlpool.
  5. The egg will take about 2 minutes to poached.
  6. Remove with a slatted spoon and place on kitchen paper until ready to use.

Matt Preston’s poached egg method

  1. Take a saucepan filled with boiling water, lightly salted. Create a whirlpool in the water with a wooden spoon.
  2. When the water is swirling, gently lower one egg at a time to the centre of the swirl. Turn off the heat and leave to sit for 3-4 minutes. Drain.


  1. Toss the pasta into the pan with the bacon and add half the parmesan, stir through.
  2.  Tong the pasta into a mound on each of the four plates, making a shallow well on the top.
  3. Lower the egg into the pasta well and grate loads of parmesan over each mound. Season with salt and plenty of cracked pepper. Sprinkle over the crispy bacon. Repeat for each of the plates.


Handmade Yellow Noodles with Braised Beef, Chilli and Sichuan Pepper October 3, 2016

Filed under: Uncategorized — delishuss @ 10:58 am

_dsc1063

My friend and I are big foodies. We often head over to our local department store and flick through all the wondrous cookbooks. I came across Neil Perry’s Spice Temple with all it’s Chinese style culinary delights. Needless to say I came home with the cookbook. I have bookmarked all the recipes that I like. I shouldn’t have bothered as it’s pretty much the whole cookbook. This is the first recipe that I tried and based on this, I can’t wait to experiment with the rest. A couple of things about this recipe, it takes a long time if you are starting from scratch. You will need to make the stock and the braised beef and the noodles separately. It’s well worth the effort, I must say. The second thing is that the original recipe calls for beef brisket. I could find any in my local supermarkets so upon researching, I found that chuck beef will work just as well. I have used it in shredded chilli beef before and was happy with that. You will need a pasta making machine if you want to give the noodles a shot.

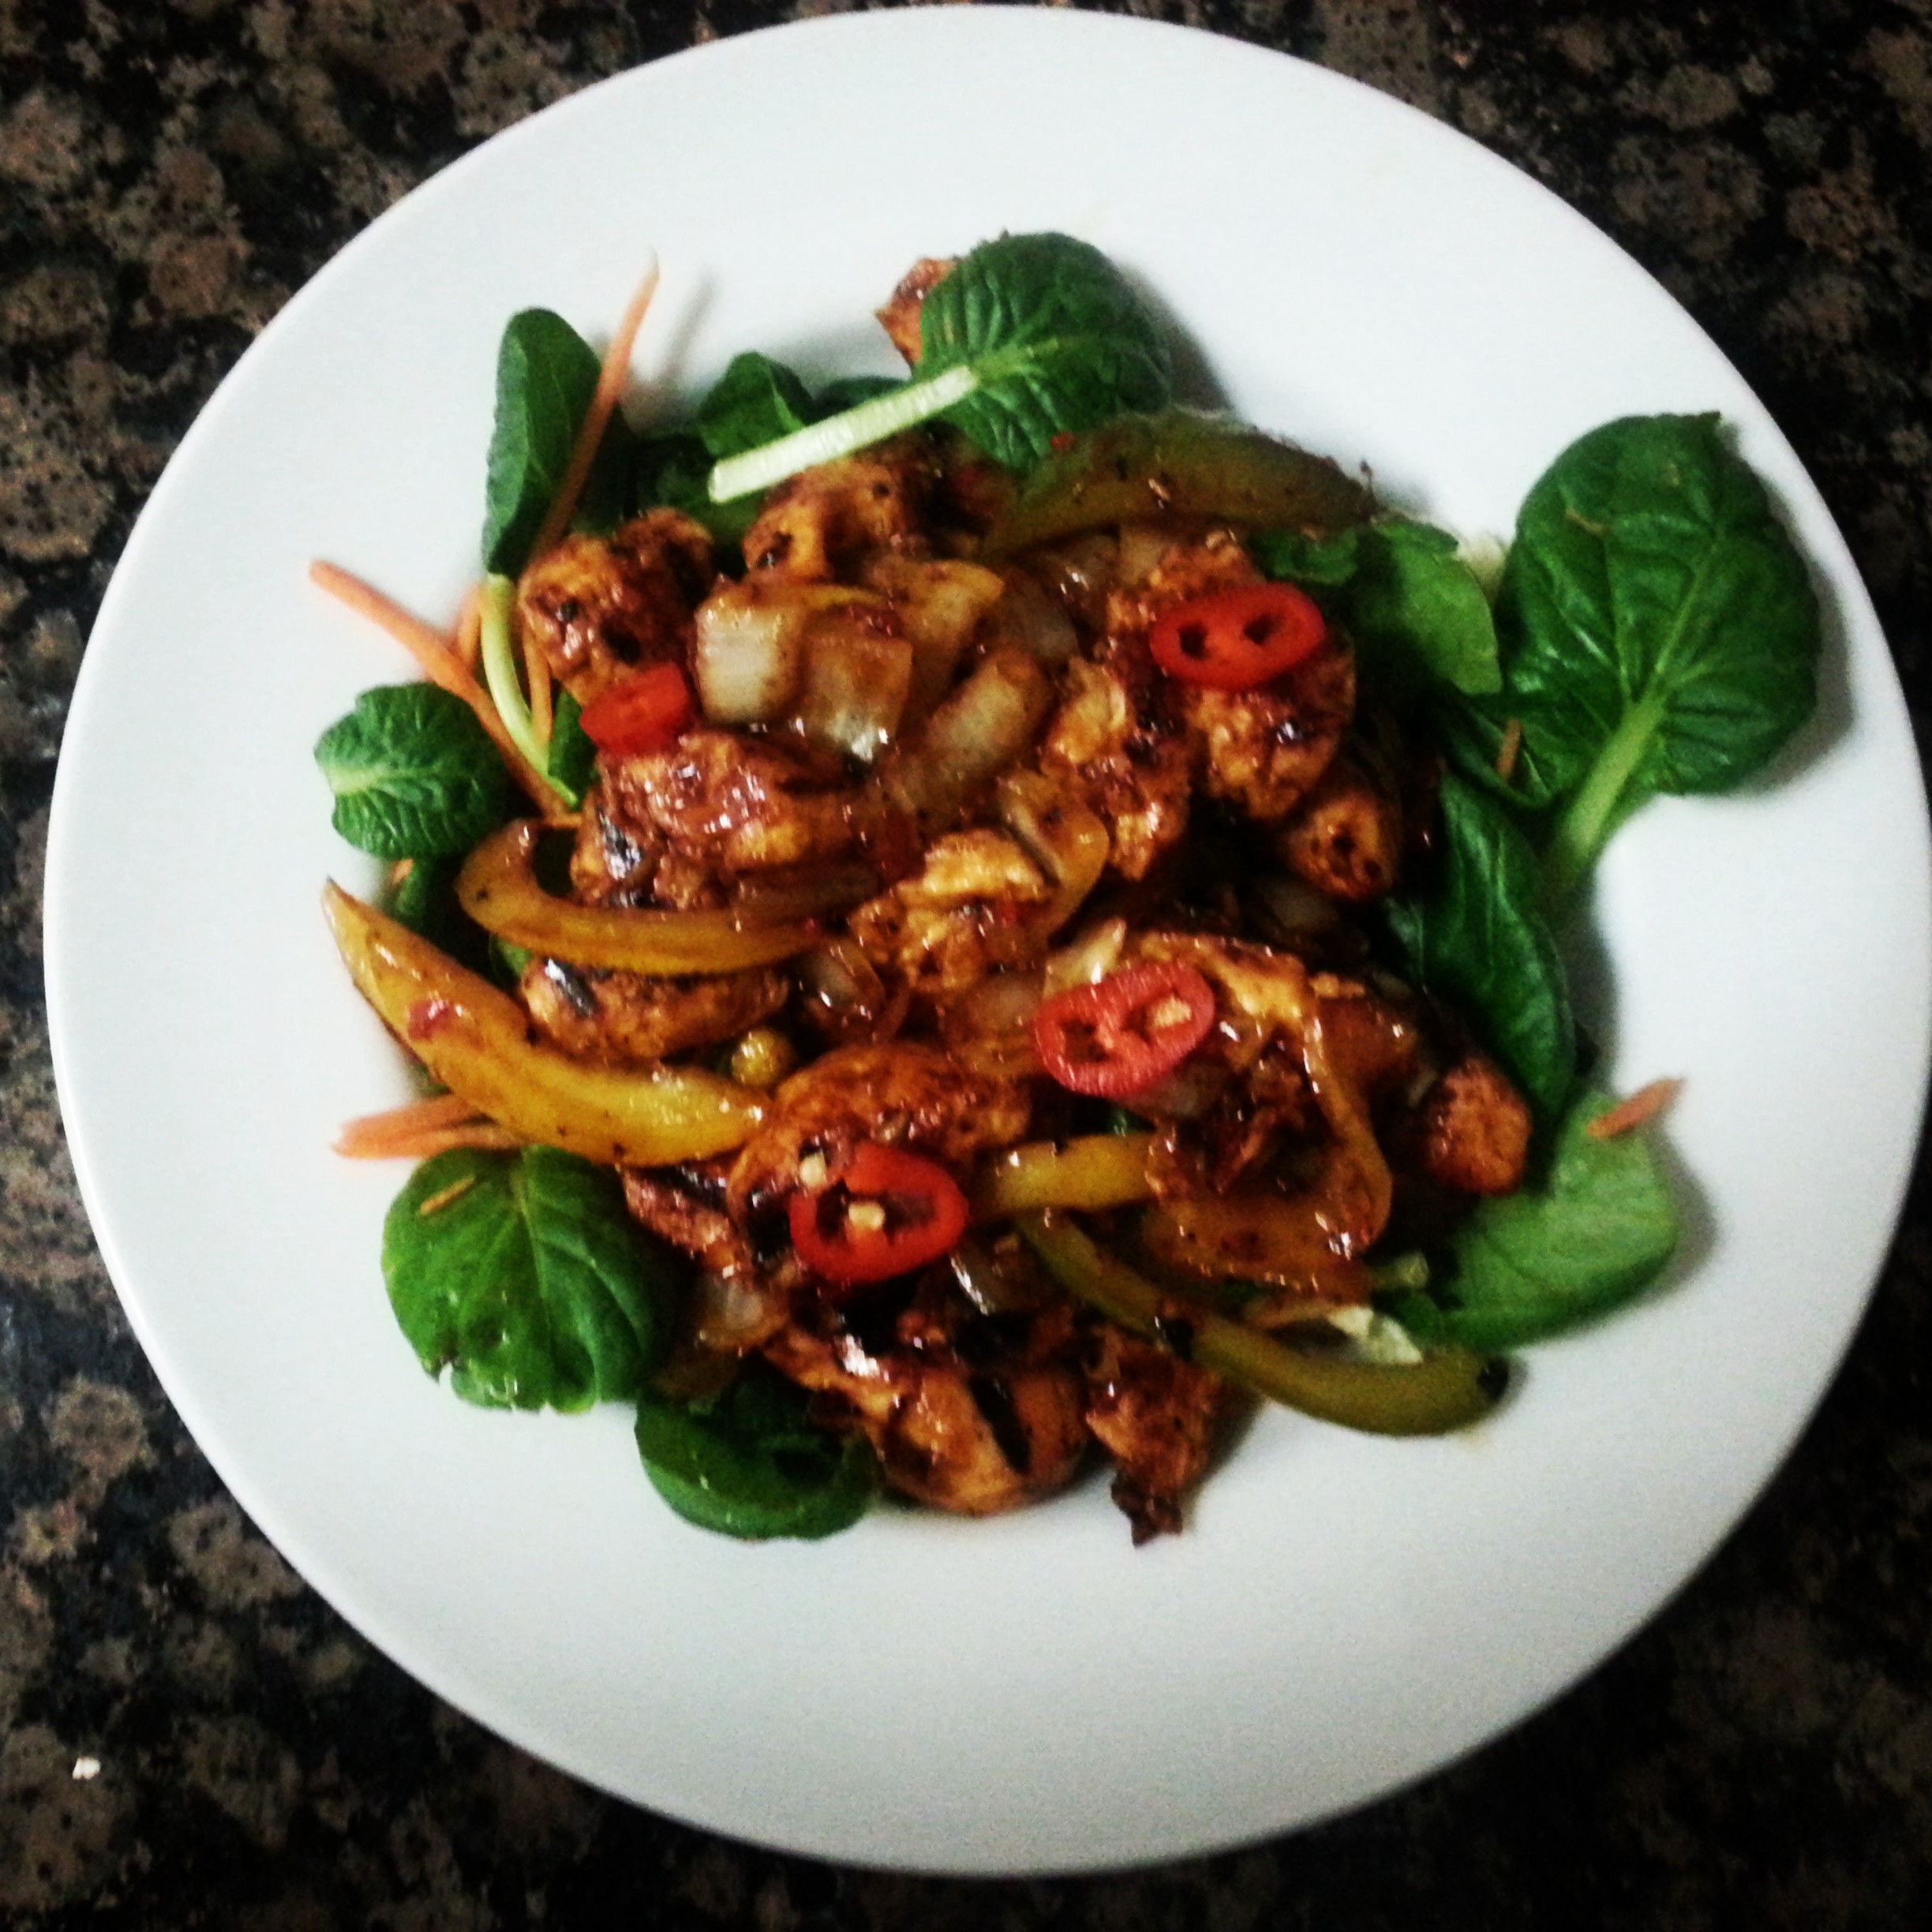
My taste taster went back for 3 helpings, I think that speaks for itself. Enjoy!

Ingredients

Yellow noodles

250g plain flour, plus extra for dusting

135ml of water

1 teaspoon fine salt

2 teaspoons turmeric powder

vegetable oil for coating

Stock

2.5l cold water

500ml light soy sauce

250ml Shaoxing wine

125g yellow rock sugar, crushed

10cm knob of ginger, sliced

8 cloves garlic, sliced

4 star anaise

2 cinnamon sticks

3 pieces dried tangerine peel (I couldn’t find this, but used citrus peel instead)

Chilli and Sichuan pepper sauce

1 tbsp peanut oil

1 tsp Sichuan peppercorns

4 dried long red chillies

1 tsp finely chopped garlic

1 tsp chopped ginger

1 tbsp chilli bean paste

1 tbsp sweet bean paste

2 tsp Shaoxing wine

50ml stock (I used some of the braising stock from the beef)

1 tsp dark soy sauce

Beef

100g red-braised brisket, shredded (method below)

1 tsp sesame oil

1 tsp chilli oil

finely sliced spring onion, to serve

Master stock  method (for braised beef)

The aromas in my kitchen from this stock were amazing. I froze my leftover stock to use at a later point in time. Place all the ingredients in a large saucepan. Bring to the boil and then reduce to a simmer for 30 minutes. Easy peasy.

Yellow noodles method

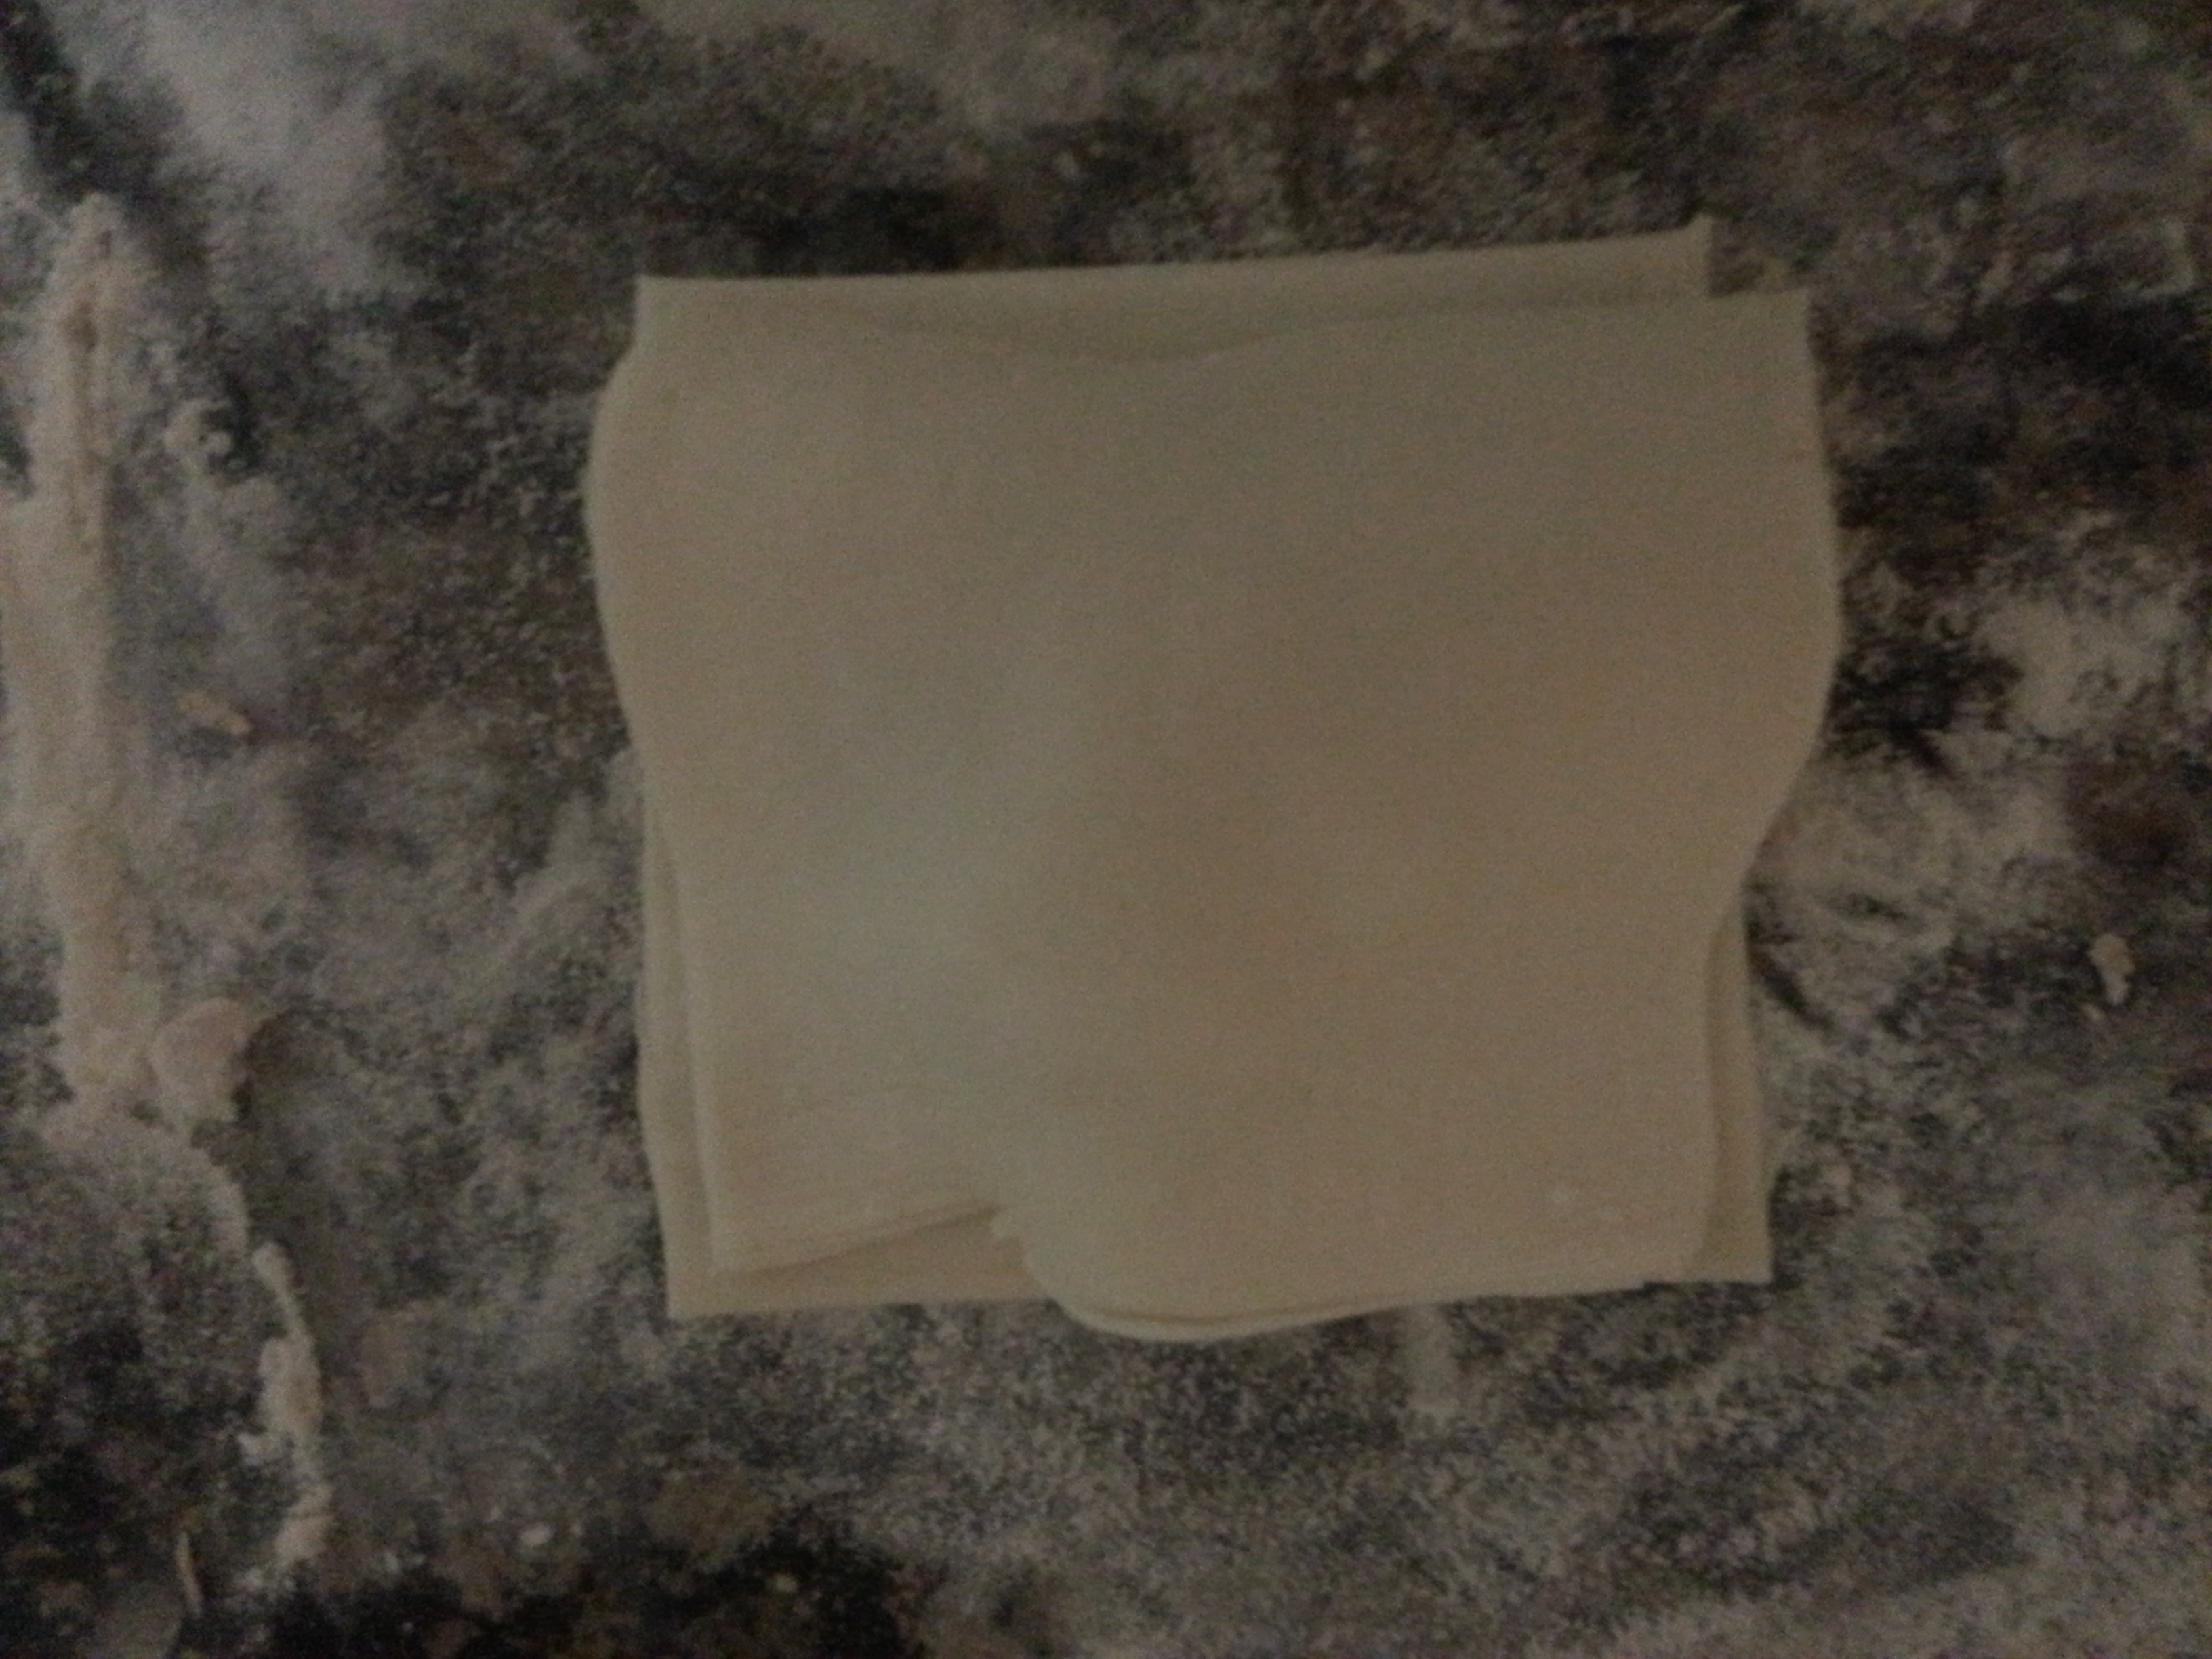
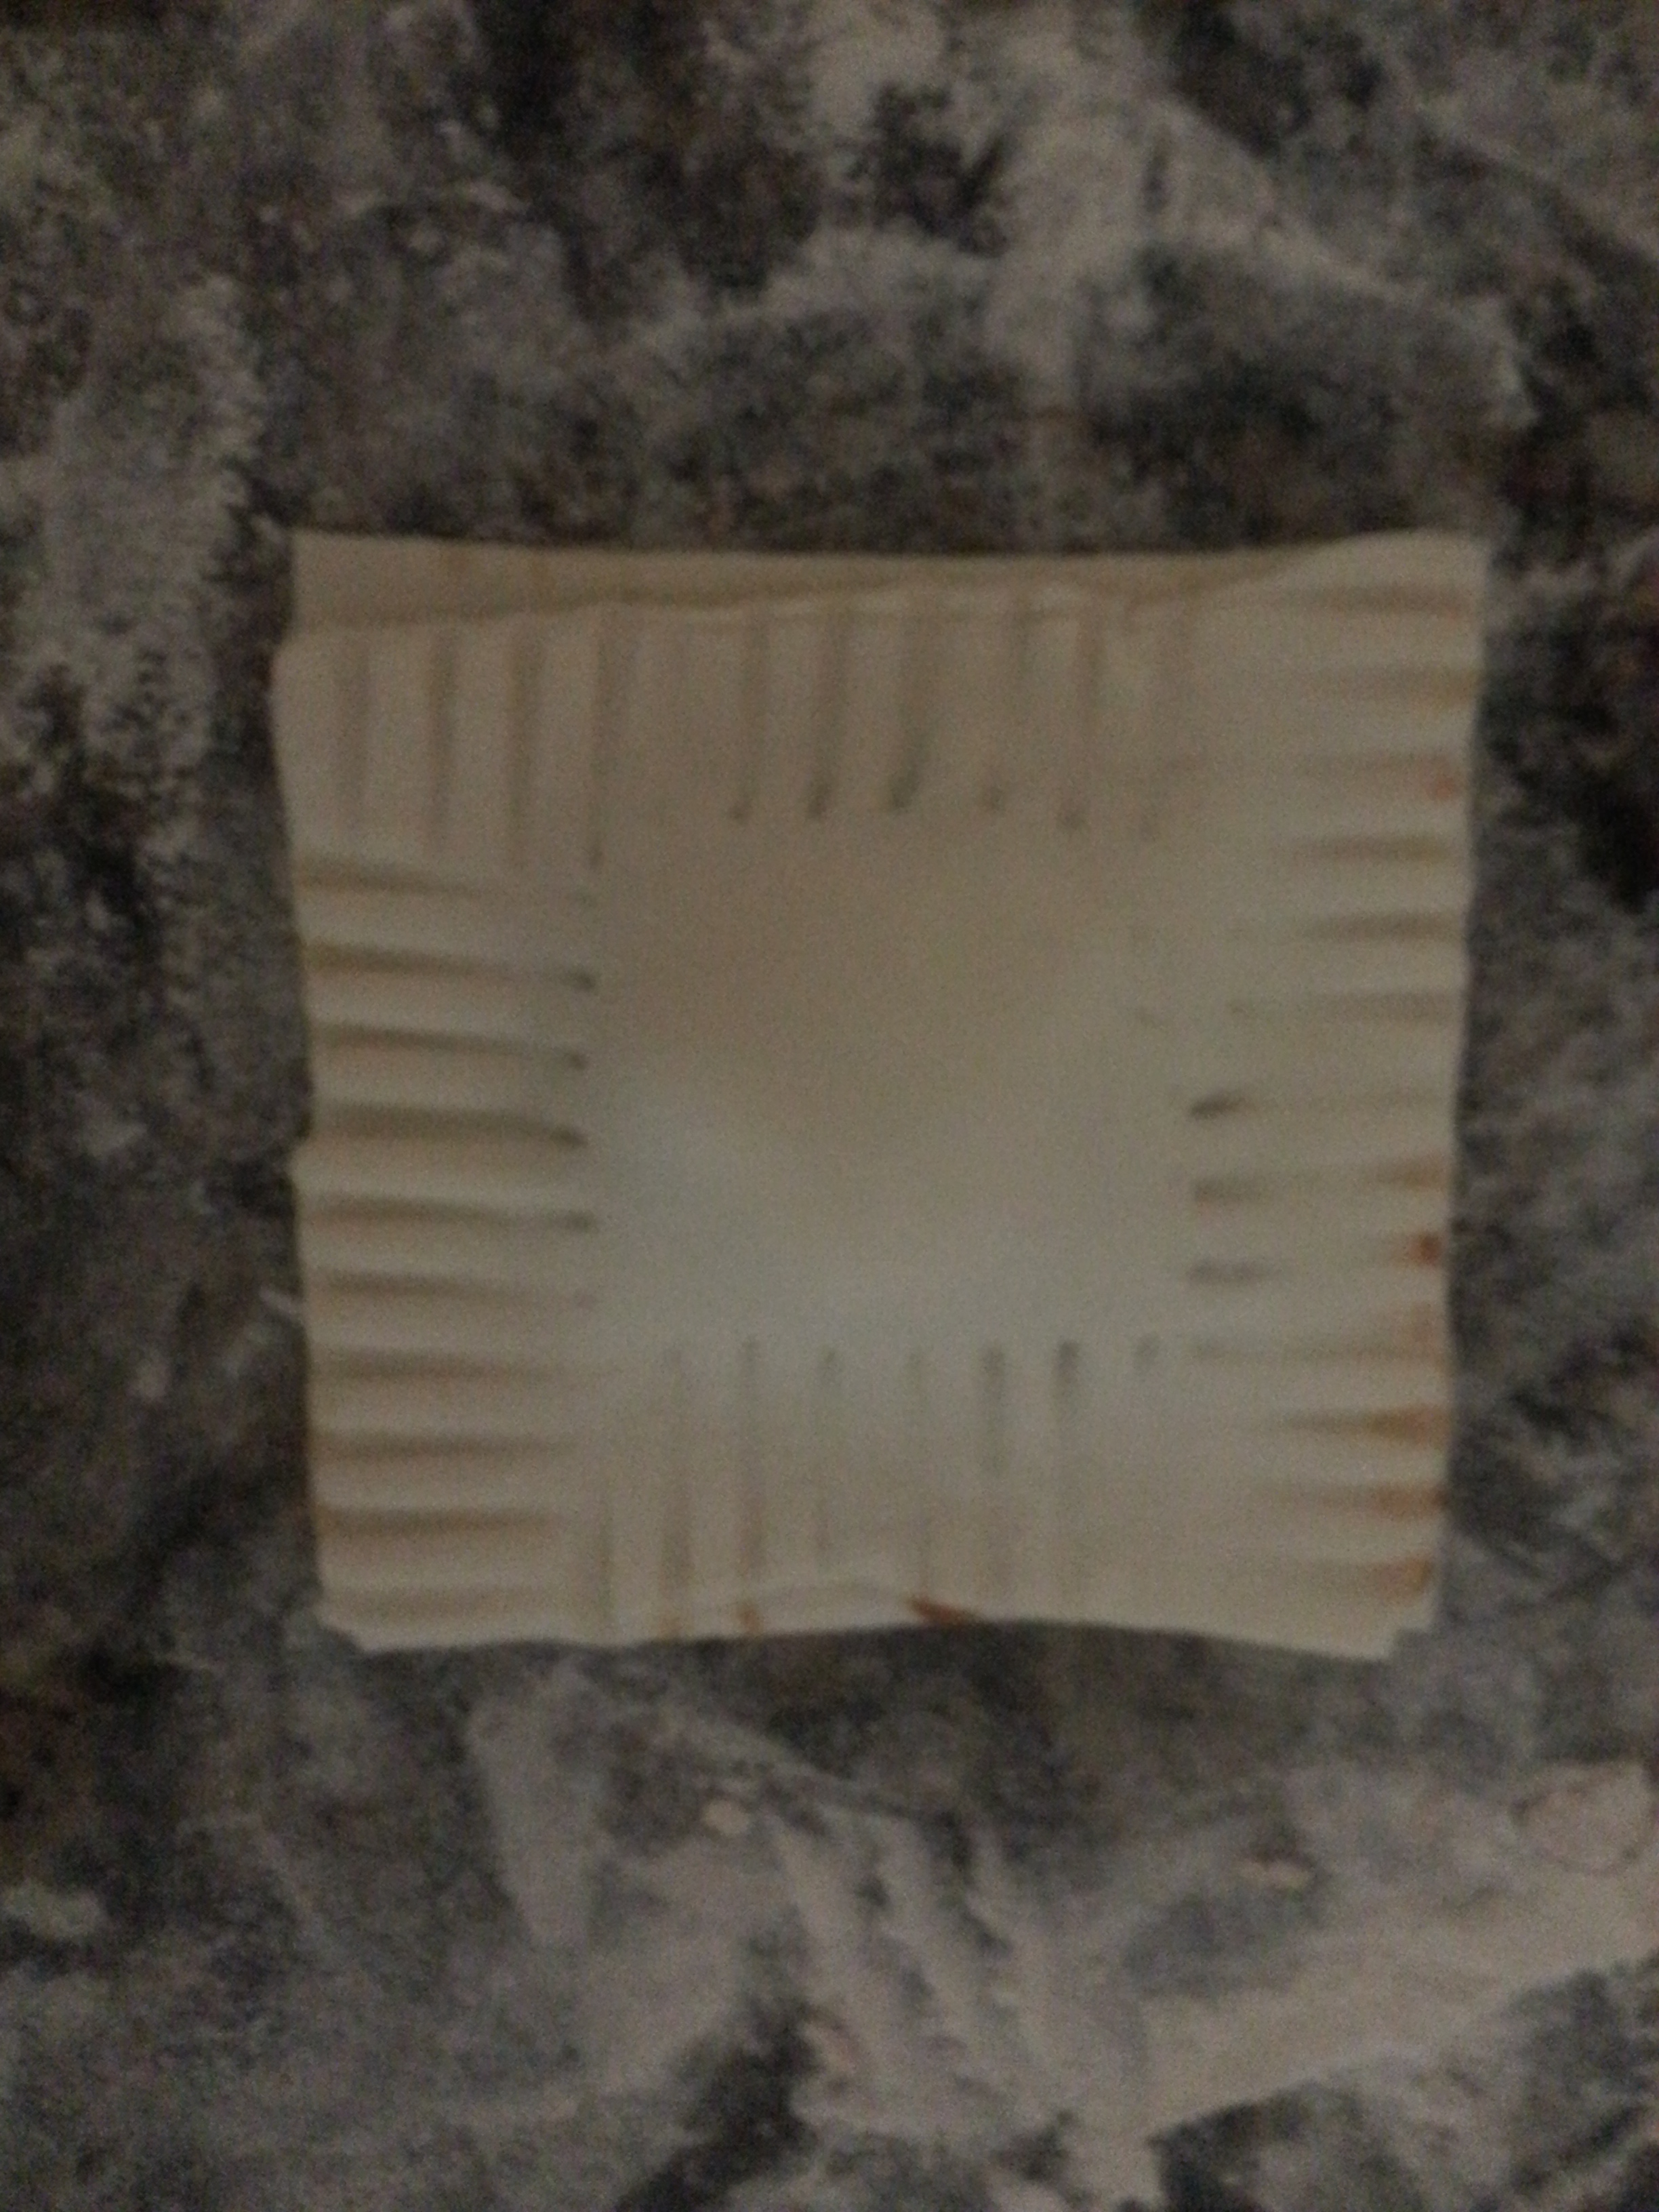
Mix all the ingredients except the oil in a bowl and combine with a spoon or your hand until it comes together. Remove from the bowl onto a dusted surface and knead for 10 minutes if your arms can last that long. Cover with cling film and chill in the fridge for 30 minutes. Remove from the fridge and repeat the process. Cut up the dough into 4 pieces and flatten one. Feed through the pasta machine at a thick setting (2 on mine) and work your way up to a thinner setting (6 on mine) approximately 5-6 times in total. Each time dust it with some flour and fold. Once it’s thin, cut into 3 cm in thickness and set aside. you can just use a standard knife if you don’t have a pasta cutter. Place the noodles over a rolling pin and repeat the process with the remainder of the dough.

Red braised beef method

I made this in the slow cooker. The braised beef recipe states 1kg beef but you only use 100g for the main dish. Cut the chuck steak up into large chunks or if you are using the brisket you can leave it whole.  You can  take some of the excess fat off but not too much. It makes it nice and juicy when slow cooked. Brown the meat in a pan in batches. Add to the slow cooker with the master stock, season with salt and pepper. I left it cooking on auto in the slow cooker for about 8 hours. Fish out the beef from the stock and place it in a separate bowl and pull it apart with two forks. If you don’t have a slow cooker, place the stock in an ovenproof saucepan or casserole dish and bring to the boil. Add the beef to the stock and cook in the oven for 3 hours at 170 degrees Celsius or until falling apart.

Chilli and Sichuan pepper sauce

Heat the peanut oil in a wok. Add the peppercorns and chilli and stir-fry for a couple of minutes. Add the garlic, ginger, both pastes and fry for another couple of minutes. Add the liquid ingredients to the pan and reduce. Stir in the shredded beef and reduce the heat.

Putting it altogether

Bring a large saucepan of salted water to the boil. Add in the noodles. They should only take about 2 minutes. REALLY, I thought no way they won’t cook in 2 minutes but mine were slightly overdone because I left them on longer. Drain the noodles but hold back a little of the cooking liquid (approx. 2 tbsp.). Stir in the oil to stop them sticking together. Then add the noodles to the sauce and beef and coat the noodles well. Drizzle over some chilli oil and sprinkle over the spring onions.


Tagliatelle with Quick Sausage Meat Bolognese May 27, 2014

Filed under: Fast Food,Italian,Meat,Pasta,Uncategorized — delishuss @ 9:10 am
Tags: , ,

IMG_20140526_221429[1]I was looking for a pasta recipe and came across this one from Gordon Ramsay’s Ultimate Cookery Course. It’s a perfect weekday evening recipe because it’s so quick and easy. The success of this recipe is dependent on the choice of sausage. Buy good quality packed with flavour.

Ingredients

Olive oil, for frying

1 small onion, peeled and finely diced

1 garlic clove, peeled and chopped

3-4 best quality Italian flavoured sausages (I used beef with sundried tomatoes and herbs)

150g dried tagliatelle

200g cherry tomatoes, halved

Sea salt and freshly ground pepper

Freshly grated Parmesan cheese


Method

20140517_173432

  • Heat a large frying pan and add a little olive oil. Sweat off the onions for 3 minutes and add the garlic for another 2 minutes or until the onion is softened.

20140517_174053

  • Remove the skins from the sausages and add to the frying pan. Break up the sausage meat as you fry it so that it resembles mince meat.
  • Meanwhile start cooking the pasta as per the packet instructions.

20140517_175909

  • When the sausage meat is lightly coloured, add the halved tomatoes and a little seasoning to the pan and continue to cook over a medium heat for 5 minutes until the tomatoes begin to break down. Add a tablespoon or two of pasta water to the pan as it cooks to create a sauce.

20140517_174920

  • Drain the pasta, reserving a further couple of tablespoons of the cooking water. Add the drained pasta directly to the pan with the sauce. Toss well, and loosen with a little more of the cooking water if necessary. Taste and adjust the seasoning. Serve hot with freshly grated Parmesan cheese.

20140517_180159


 http://www.pinterest.com/grainiac/recipes/


Avocado, Cheese and Salsa Puffs May 25, 2014

Filed under: Mexican,Starters,Tarts & Pies,Uncategorized — delishuss @ 9:54 am
Tags: , , , , ,

I was looking for a Mexican starter recipe for my friend’s dinner party and came across these on: http://www.averiecooks.com. I cooked them the evening before the party as I knew I wouldn’t have time to prepare them that evening.  You can just pop them in the microwave for a minute or two to heat them up but they are best served straight out of the oven. They tasted really good but I think if I was making them again I would make them with a cheese that melts and goes stringy. Also I used a salsa that had chipotle and black bean flavours and it competed with the flavour of the cream cheese, but would probably work better with a less flavoursome cheese. I’m not the best at baking but these are so simple and require very little technique but the finish product looks impressive.

Ingredients

Makes 18 puffs

2 ripe avocados, mashed (1 tablespoon per puff)

1/3 cup cream cheese or manchego (1 teaspoon per puff)

1/3 cup salsa (1 teaspoon per puff)

3 sheets puff pastry (thawed as per the packet instructions if frozen)

1 egg beaten for glazing

Salt & pepper


Method

1. I made these in batches as I only had one baking tray but you can add multiple trays at a time if you wish. Pre-heat the oven to 200 degrees Celsius or 400 degrees Fahrenheit. Add a sheet of baking paper to the tray (s) and spray them with cooking spray to prevent the puffs sticking.

2. Flour your work-top and place your sheet of pastry on top. The original recipe said to roll it out as thinly as possible. I didn’t bother. Flour a sharp knife (stops the pastry sticking) and cut the sheet into 9 squares. you will use 6 squares for the first batch and then the remainder with the next batches.

20140519_202800

3. Spoon a tablespoon of avocado, a teaspoon of salsa and a teaspoon of cheese on a square of pastry.

20140519_202807

4. Top with another square of pastry.


20140519_2034135. Crimp the edges with a fork to seal the puffs.

20140519_203443

6. Repeat this process with the remainder of the pastry and filling ingredients. Place the finished pastries on the baking tray.

7.  Brush the pastries with the egg mixture and place in the oven.

20140519_203248

8. Cook the puffs for 15-20 minutes until they are golden brown and puffed up. Check them 10 minutes into the cooking time just to make sure that they are not cooking faster than the mentioned time.

9. Remove from the oven and serve.  I served 2 puffs per person.

Me


Happy New Year January 7, 2014

Filed under: Uncategorized — delishuss @ 9:44 am

Happy New Year everyone,

Thanks for all the support over the last year. I will have lots more interesting posts over the year to come.

Grainne


Baked Eggs with Chorizo October 13, 2013

Filed under: Breakfast,Favourites,Meat,Uncategorized — delishuss @ 7:55 am
Tags: , , ,

I woke up last weekend and had a craving for baked eggs. I didn’t have the ingredients in stock so I marched off to the supermarket and got them. By the time I had the eggs baked, I was well and truly starving so I made a bit of a brunch out of it and had the whole lot myself 😮

I made the recipe up as I went along.

I took on board the feedback from ‘binary option signals’ and have added a few photos of the process. I will aim to do that for any future posts 🙂

Serves 2

Ingredients

1 small capsicum, chopped

1 tin of tomatoes- I used one with garlic, chilli and herbs

1 onion, diced

1 clove of garlic, crushed

2 eggs

200g chorizo, sliced

Olive oil spray

1 tsp chilli flakes

1 tsp smoked paprika

75g feta cheese

Salt and pepper

2 thick slices of sour-dough bread or ciabatta

Butter for the bread

Method

1. Pre-heat the oven to 200 degrees Celsius.

2. Heat a frying pan and spray with olive oil spray. Add the onion, capsicum and chorizo and sauté to golden brown. Add in the garlic and cook for 2 more minutes.

20131005_102026

3. Add the tin of tomatoes, season with salt and pepper and simmer down until the sauce has thickened.

20131005_102938

4. Add the sauce to an oven proof dish or 2 ramekins.

5.  Crack the eggs and add on top of the sauce.

6. Crumble on the feta cheese on top of the sauce and eggs.

20131005_103344

7. Cook in the oven until the eggs are cooked to your taste. I overcooked one of the eggs in this dish, I like it slightly runny so that it’s oozes into the sauce.

4. While the eggs are cooking toast the bread on a griddle pan. Slather on the butter.

20131005_104838

5. Serve the eggs with the bread on the side for dunking into the tomato sauce and running egg, Yummy.

20131005_110103


Asian Style Chicken Salad

Filed under: Asian,Chicken,Salads and Dressings,Uncategorized — delishuss @ 6:56 am
Tags: , ,

IMG_20131013_155503

I saw this recipe in the Woolworths Fresh store magazine. I think it’s really tasty and simple to put together but before you start the chicken needs to be marinated for 30 minutes. It’s worth doing to be honest because it infuses the flavours and also makes the meet more tender. This recipe is great if you are looking for something nice and light in the evening.

Serves 4

Ingredients

275g sachet of sweet chilli stir fry sauce. I used a Blue Dragon one with garlic in it.

1 large lime, juiced

600g free range chicken breast stir-fry strips

Spray oil

1 tsp vegetable oil

2cm piece ginger, peeled and grated

1 garlic clove, crushed

350g Ready to Stir-fry Asian Leaf Blend

1/2 bunch coriander

1 tbsp. soy sauce

1 red chilli, sliced

Method

1. Combine sauce, lime juice and soy sauce and chicken in a bowl. Cover and stand for 30 minutes.

2. Spray a chargrill pan with oil. Place over a medium-high heat.

3. Reserve marinade and cook chicken strips, in batches, for 1 minute on each side or until golden brown and cooked through. Transfer to the bowl.

4. Heat oil in a small saucepan over medium heat. Add ginger and garlic and cook for 1 minute. Add reserved marinade and bring to the boil. Simmer for 5 minutes.

5. Divide leaf blend between serving plates. Chop coriander and sprinkle over leaves. Top with the chicken. Drizzle with sauce. Sprinkle over chilli. Serve.


White Chocolate and Raspberry Cheesecake October 18, 2012

Filed under: Cakes,Desserts,Uncategorized — delishuss @ 11:06 am
Tags: , ,

I had been meaning to try this recipe for ages, so I had the opportunity when a couple of friends came around for dinner.  It’s really lush. It’s pretty straight forward to make as well and it can be made a day before you need it. I didn’t have a weighing scales so the biscuit base was a bit crumbly, it needed a bit more butter. The chocolate is not that prominent in the recipe, so next time I think I would add a bit more white chocolate in it. Other than that I think it’s a winner. My friend Catherine passed on the recipe, I think she got it in a cookery class she went to.

Hope you enjoy it as much as I did.

Ingredients

For the base

175g digestive or ginger nut biscuits, coarsely crumbled

100g butter melted

For the filling

2x 200g cream cheese

60g caster sugar

Zest of lemon, finely grated

1 tbsp of lemon juice

300g good quality white chocolate

300ml double cream

250g raspberries

To decorate

White chocolate curls

Fresh raspberries and toasted almond flakes

lemon, zest

Equipment: 20cm loose bottom cake tin or springform tin

Method

1. Put biscuits in a plastic bag and bash with a rolling pin until coarsely crushed. Mix together the biscuit mixture and the melted butter.

2. Press the mixture over the base of the cake tin and chill.

3. Beat the cream until stiffly whipped.

4. In a separate bowl, using an electric whisk, beat together the cream cheese, sugar, lemon juice and zest.

5. Melt the white chocolate in a bowl over a pan of simmering water. Pour it into the cream cheese in a thin stream, whisking as you do so.

6. Fold in the whipped cream. Stir the raspberries through the chocolate and cream mixture.

7.  Spoon the mixture over the biscuit base and level the top.  Leave in the fridge to chill for 3-4 hours.

8. To serve, decorate the top with curls of white chocolate, sprinkle over the fresh raspberries and cut into wedges.

Notes: You can use frozen raspberries if they are not in season or are too expensive. I made a little raspberry coulis but putting some frozen raspberries in a bowl with two tablespoons of sugar and ding it in the microwave for about a minute and a half and mash it up with a fork. If you want to be posh you could put the mixture through a sieve, I like it a bit rustic and drizzle the mixture over as is.