Delishuss Blog

Just another WordPress.com site

Thai Pies June 16, 2018

Filed under: Chicken,Favourites,Tarts & Pies,Uncategorized — delishuss @ 6:29 am
Tags: , ,

20180519_113908

This is  take on Donna Hay’s Red Curry Pork Pies from her Season’s Cookbook. I was looking for a nice recipe for a picnic in the lovely Roma Street Parklands in Brisbane. Donna’s recipe uses pork; I swapped it out for chicken thigh meat and I’ve added some veggies to bulk them up.

I told my partner that I was making pies, I think he was slightly disappointed when he realised that they weren’t steak and kidney. He was won over when he actually tasted them. They are banging with flavour and just that little bit different.

Utensils: You’ll need 2 round pastry cutters, 1 slightly smaller than the other for the top and the bottom of the pies. A metal pastry muffin tin. I had neither of these so I had to improvise. They were a bit rugged looking but the flavour certainly wasn’t compromised.

Makes 12 pies

Ingredients

2 tablespoons oil

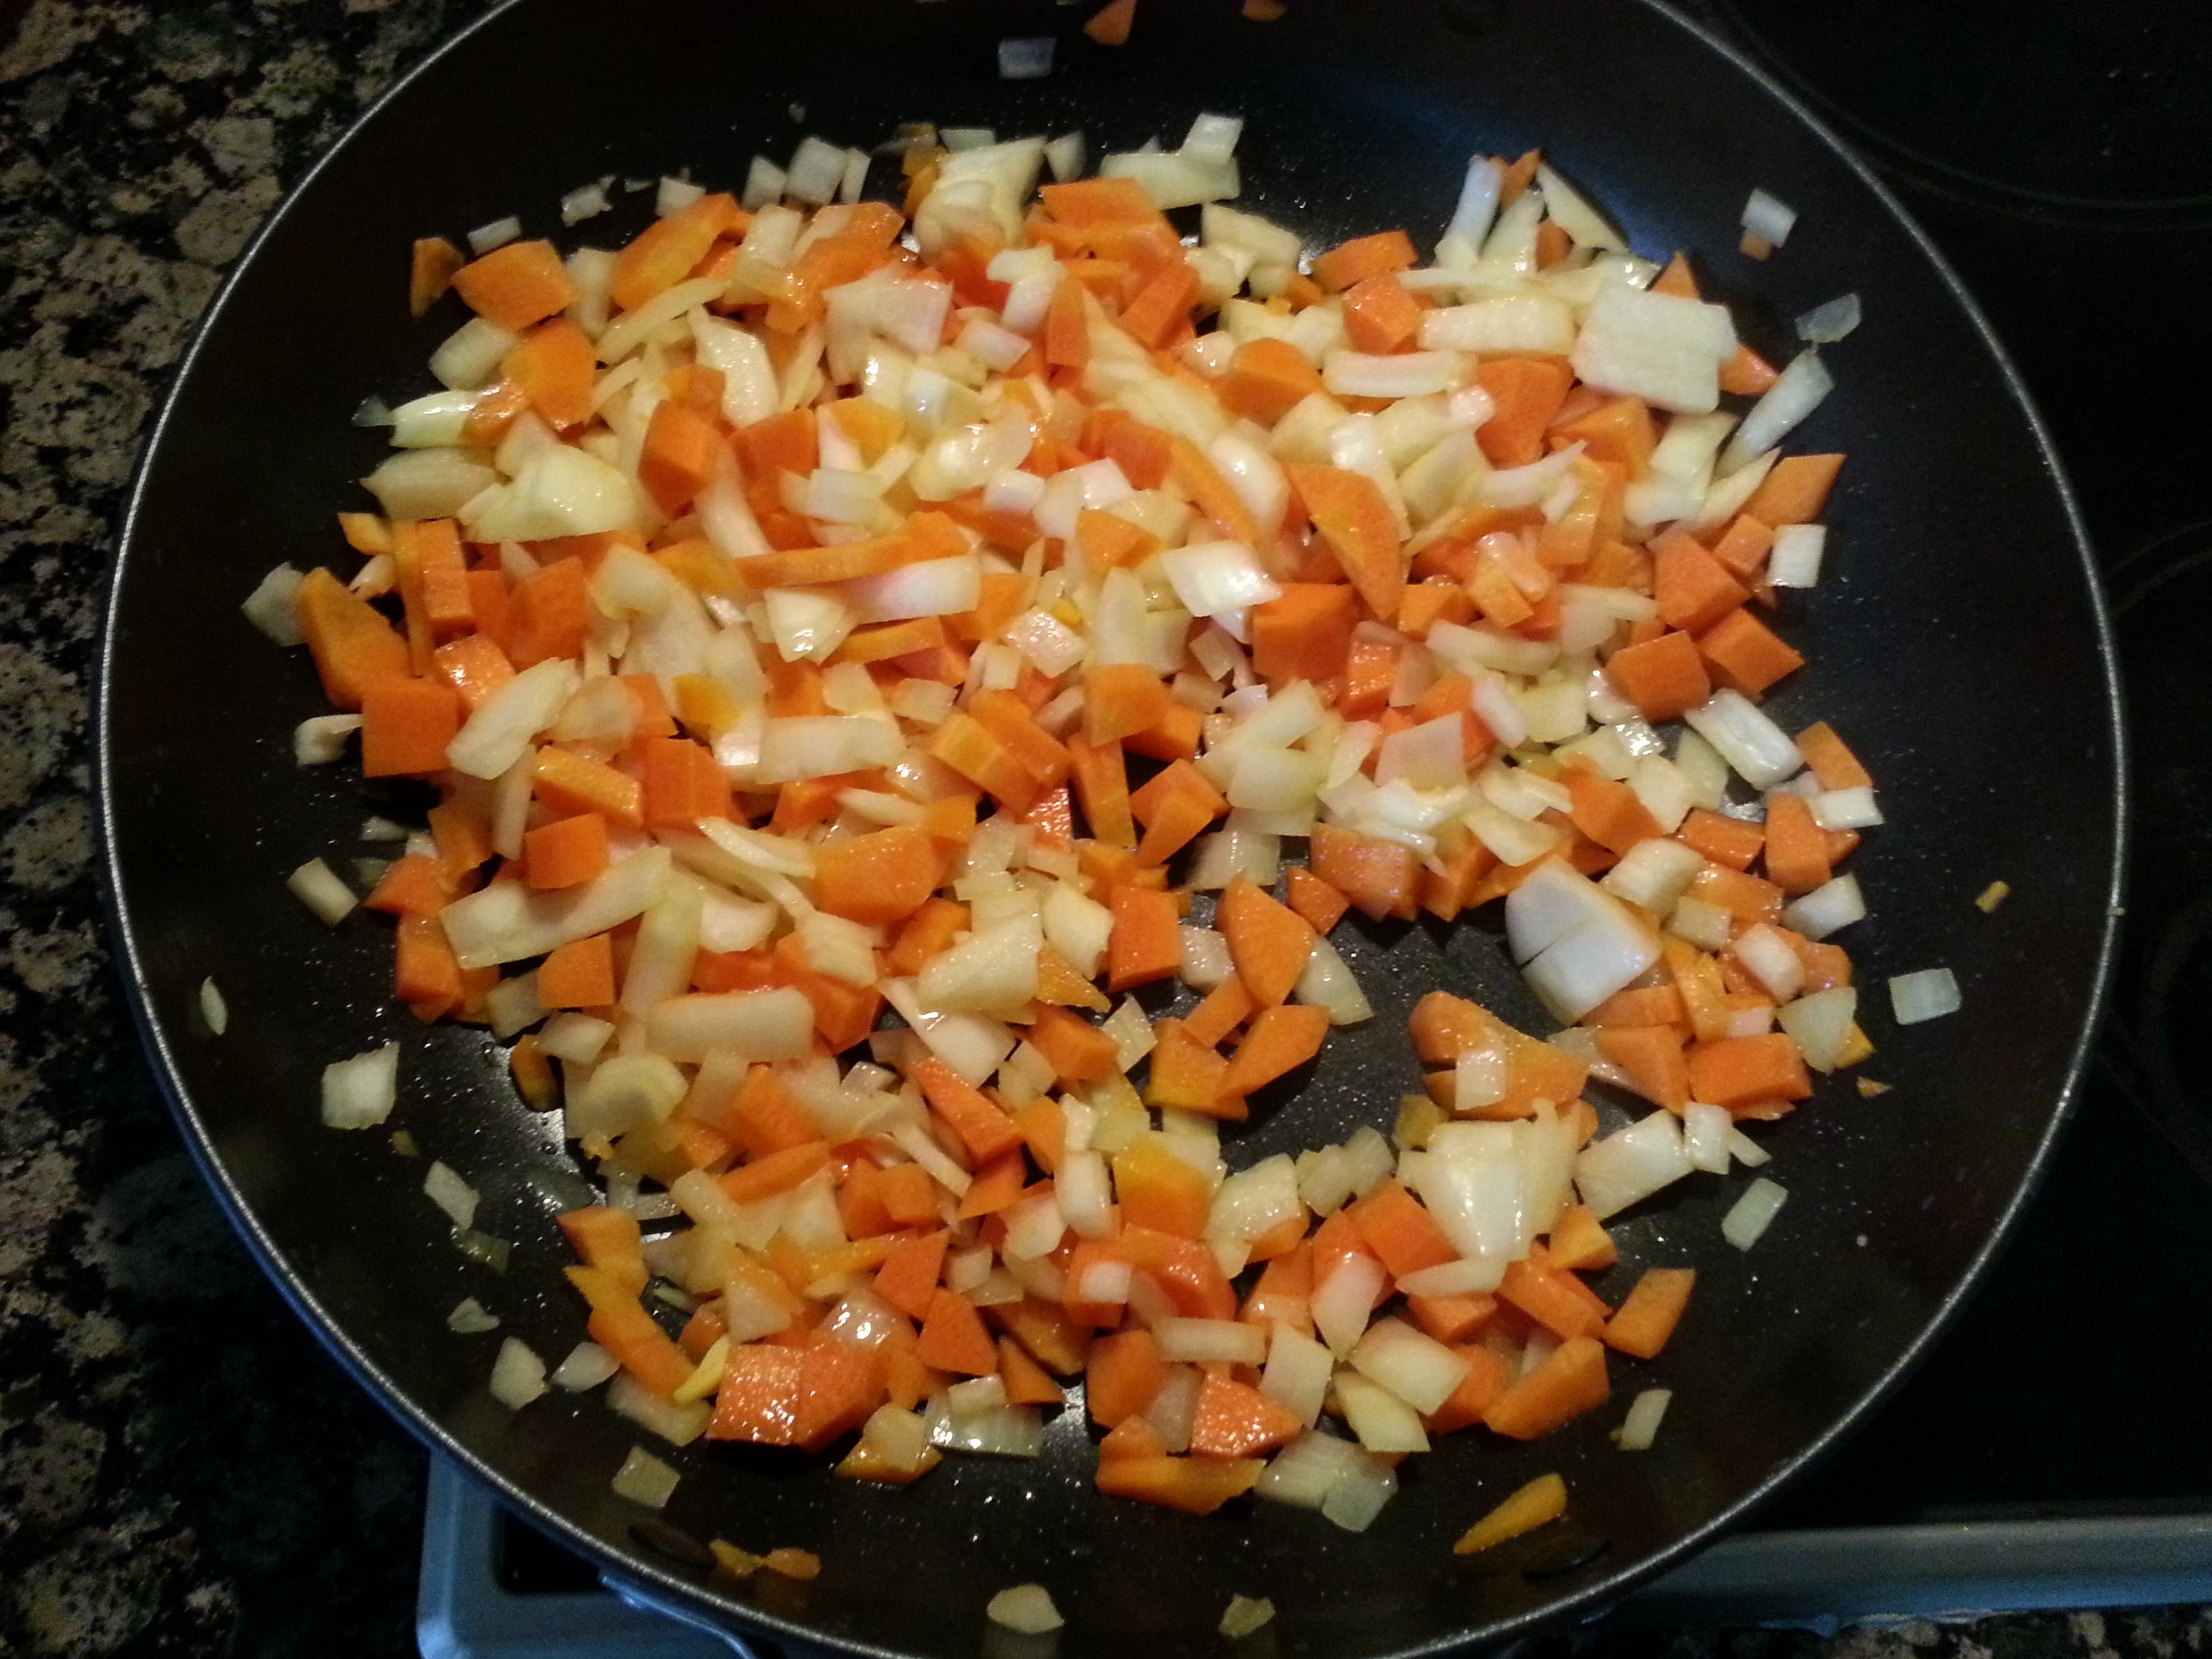
1 large brown onion, peeled and diced

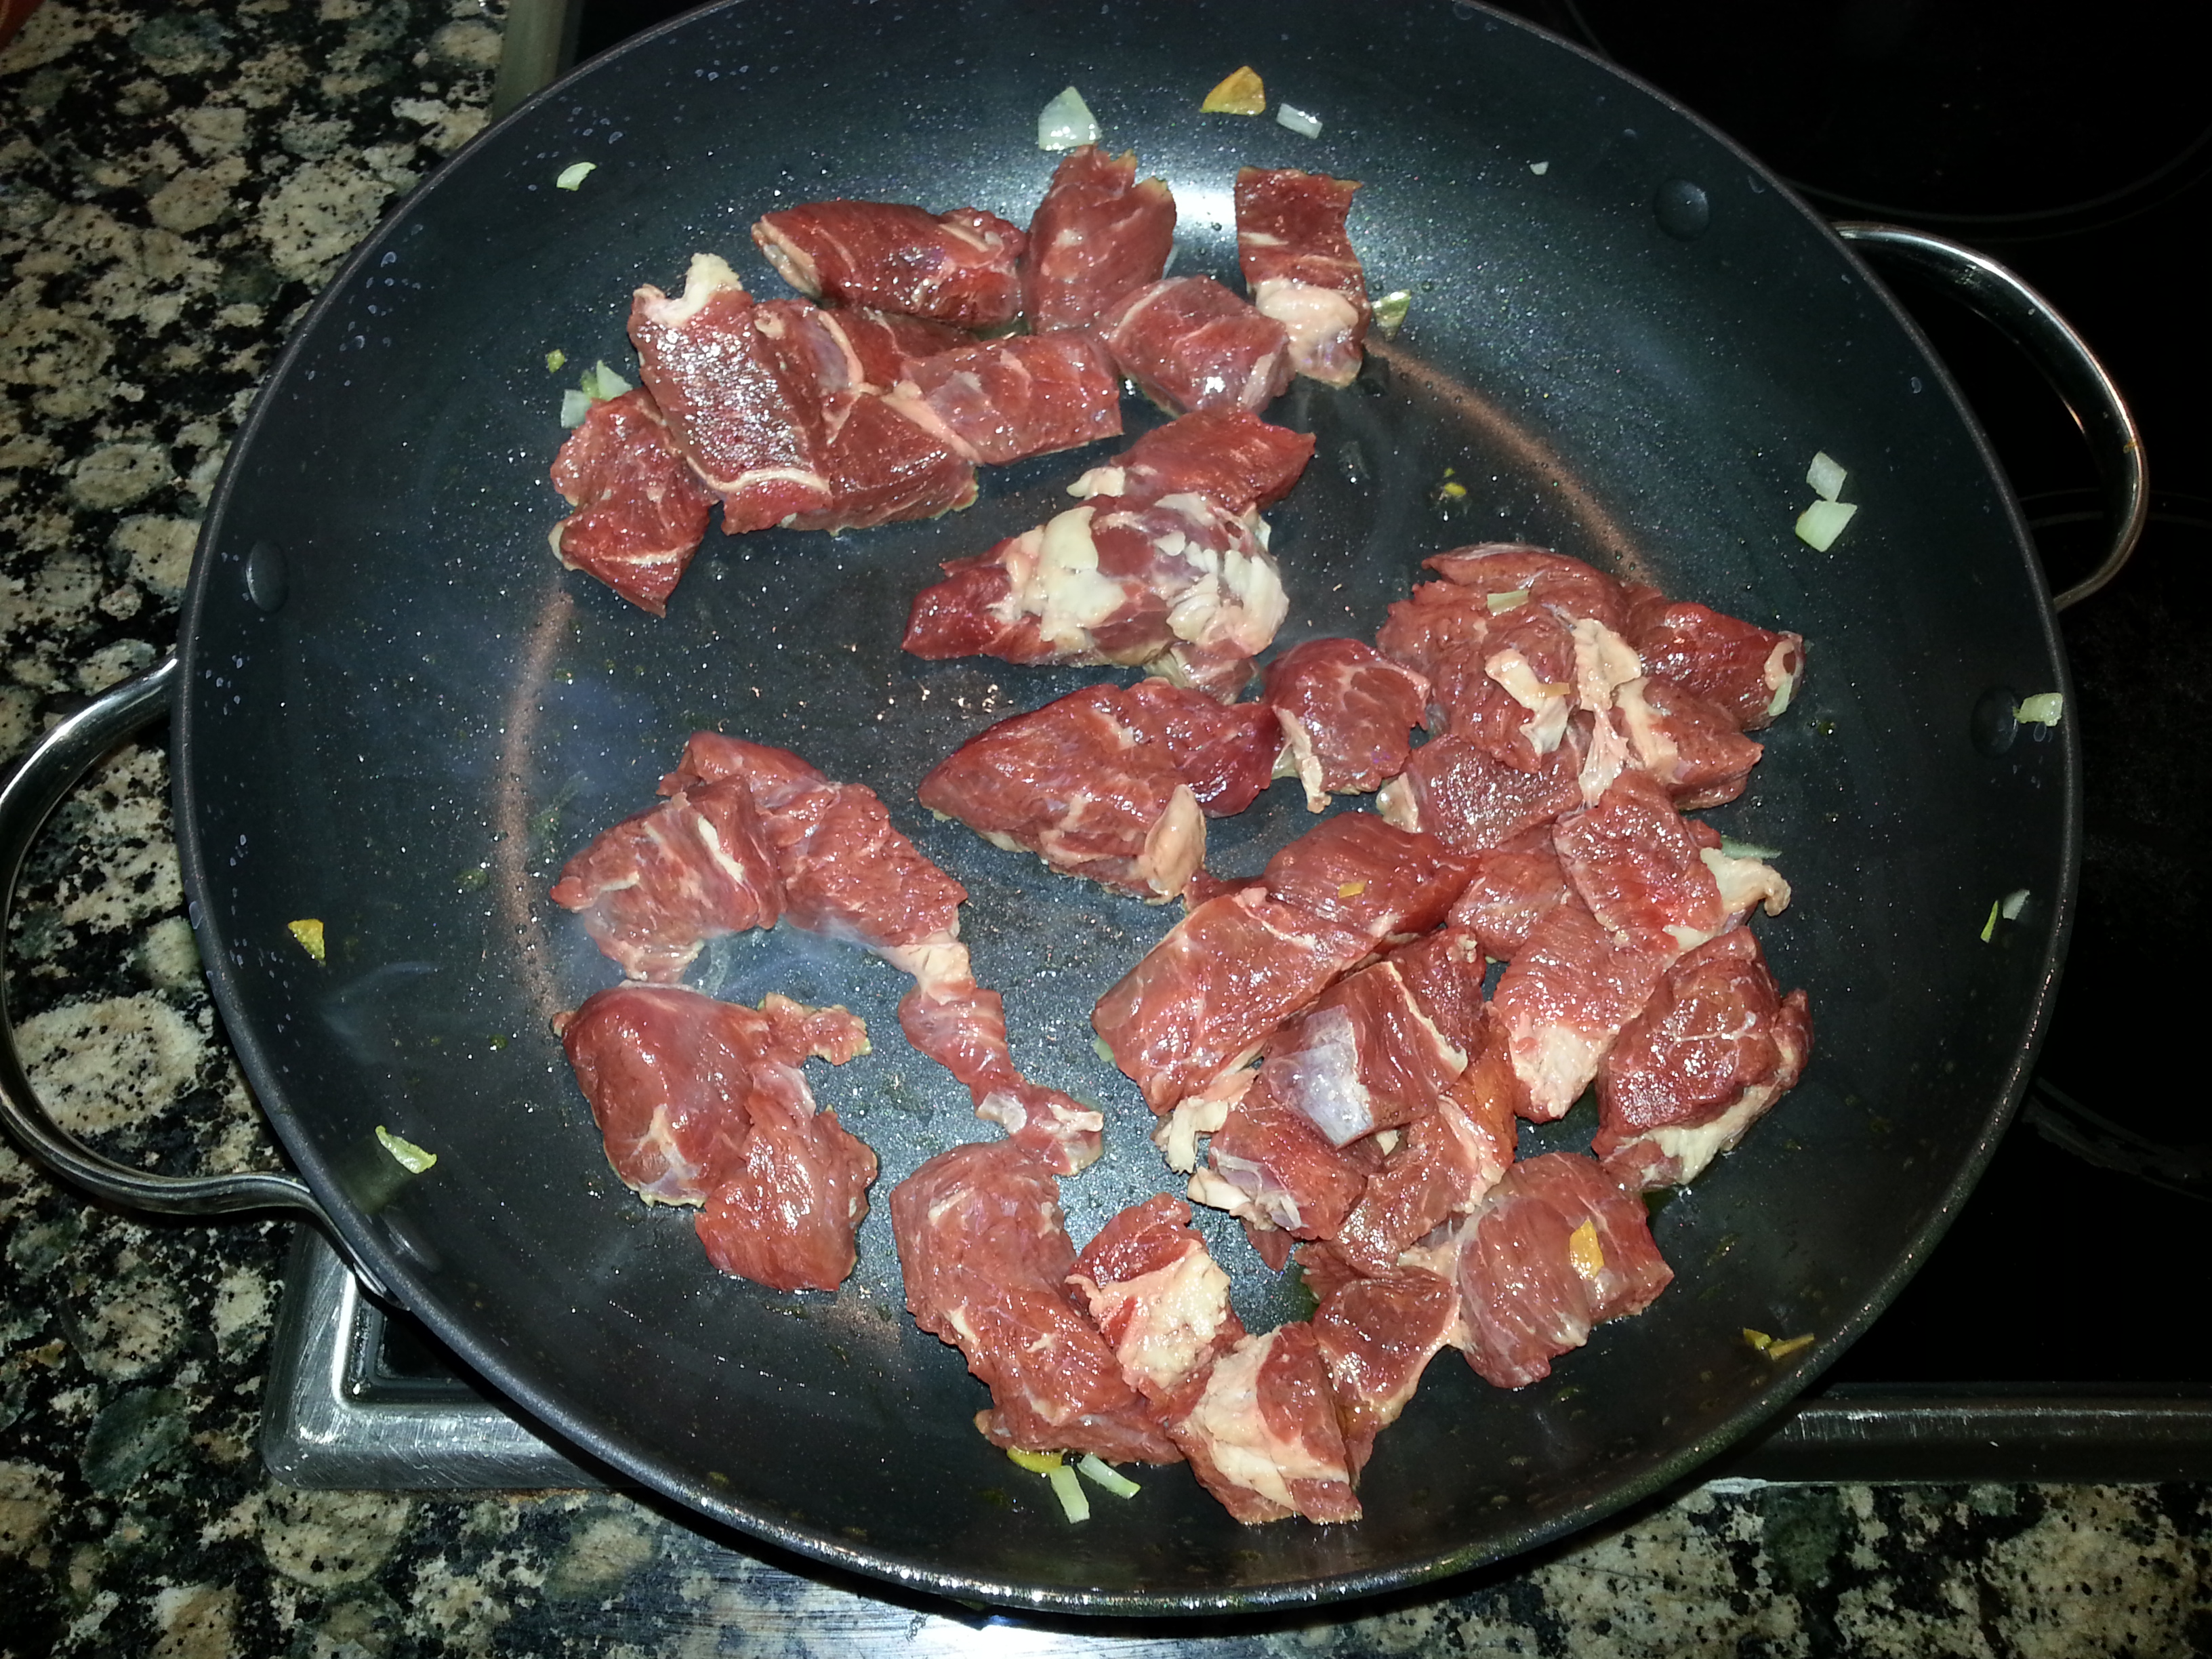
1.2 kg chicken thigh fillets, chopped into bite sized chunks

2 tablespoons red curry paste

1 red pepper, finely diced

1 yellow pepper, finely diced

1 cup coconut milk

1 cup coconut cream

1 cup chicken stock

5 x 200g sheets store-bought shortcrust pastry, thawed

1 egg, lightly beaten

Oil spray for greasing the pastry tin.


Method

  1. Preheat the oven to 200 degrees celsius.
  2. Heat a large saucepan over a high heat. Add 1 tablespoon of the oil and onion and cook for 2 minutes. Add in the peppers and fry for a further 5 minutes until they are starting to become soft.
  3. Remove the vegetables from the saucepan and set aside temporarily while you brown the meat.
  4. Add the remaining oil to the pan, allow to heat and then add the meat and cook until brown. Stir in the curry paste and cook off for a minute or 2.
  5. Re-add the veggies. Add the coconut milk, the coconut cream and the stock to the saucepan and bring to a simmer. Cook for about 20 minutes until the sauce has thickened. You don’t want it to be too runny or you’ll get a soggy bottom for your pies and no one likes a soggy bottom.
  6. Set the sauce aside while you prepare your pastry.
  7. Cut out 12 of the larger pastry rounds and 12 of the smaller pastry rounds. You can get artistic or get the kids involved and make some leaves for the top of the pies with the leftover pastry.
  8. Grease the pastry tin. Line the holes with the larger pastry rounds.
  9. Spoon in the filling. Don’t overfill or the sauce will ooze out while baking.
  10. With a pastry brush, brush the egg around the edges of the pastry round.
  11. Add on the top pastry round and brush with the remaining egg.
  12. Place in the oven and bake for 30 mins or until golden brown on top.
  13. These are good eaten hot or cold. I just had a thought, they’d be delishuss with a mango chutney.


Advertisement
 

Carbonara Revisted May 20, 2018

Filed under: Fast Food,Favourites,Italian,Meat,Pasta,Uncategorized — delishuss @ 9:02 am
Tags: ,

20180501_184833

Pasta is my comfort food. This recipe is so simple and so satisfying. It’s from the Matt Preston Fast, Fresh and Unbelievably Delicious cookbook. It’s a great cookbook, it’s one of the cookbooks that I cook from the most. Lots of no fuss recipes and so many left that I want to try.

I’ve tried many methods for cooking a poached egg with varying degrees of success. My method is below but I’ve also given you Matt’s as well. The choice is yours.

Serves 4

Ingredient

  • 500g spaghetti
  • 6 rindless bacon rashers cut into long thin strips
  • 4 eggs
  • Extra virgin olive oil
  • 200g parmesan cheese, freshly grated
  • Freshly ground salt and pepper

Method

  1.  Cook the spaghetti as per the packet instructions with salted water. Drain once cooked.
  2. Add some olive oil to a heated pan and fry the bacon until nice and crispy.
  3. While the bacon is frying, it’s time to poach your egg. choose from either method below:

Grainne’s poached egg method

For best results, do one egg at a time.

  1. Fill a deep pan with some salted water to a rapid boil.
  2. Crack an egg in a ramekin.
  3. Once the water has come to a rapid boil, reduce to a simmer.
  4. Make a whirlpool in the water and slowly drop the egg into the whirlpool.
  5. The egg will take about 2 minutes to poached.
  6. Remove with a slatted spoon and place on kitchen paper until ready to use.

Matt Preston’s poached egg method

  1. Take a saucepan filled with boiling water, lightly salted. Create a whirlpool in the water with a wooden spoon.
  2. When the water is swirling, gently lower one egg at a time to the centre of the swirl. Turn off the heat and leave to sit for 3-4 minutes. Drain.


  1. Toss the pasta into the pan with the bacon and add half the parmesan, stir through.
  2.  Tong the pasta into a mound on each of the four plates, making a shallow well on the top.
  3. Lower the egg into the pasta well and grate loads of parmesan over each mound. Season with salt and plenty of cracked pepper. Sprinkle over the crispy bacon. Repeat for each of the plates.


Huevos Rancheros May 15, 2015

Filed under: Breakfast,Brunch,Favourites,Vegetarian — delishuss @ 11:37 am
Tags: , , , ,

IMG_20150514_210754

This is my go to hangover, I mean comfort food 😉  I love tomato based dishes; I think I was Spanish in a previous existence. You could have this as a vegetarian dish or I add chorizo if I have it in stock.

Serves 2

Ingredients

1/2 red pepper, diced

1/2 yellow pepper, diced

1 onion, diced

1 clove of garlic, crushed

1 or 2 Jalapeno pepper, chopped finely

3 sprigs of coriander, chopped roughly

1 tin of tomatoes

Olive oil

1/2 avocado, diced

75g grated cheese (something that melts well, like mozzarella)

2 eggs

Salt and pepper to season

Method

1. Heat a frying pan that you can put in the oven or under a grill. Add a tablespoon of oil to the pan and heat.

2. Fry the onion for 4 minutes.

3. Add the peppers and fry until softened.

4. Ad the garlic and Jalapeno and fry for 2 minutes.

5. Add the tin of tomatoes and season with salt and pepper.

6. Simmer for 10 minutes until the sauce has reduced.

6. Make 2 wells in the sauce and break the eggs into the wells.

7. Scatter over the avocado and grated cheese.

8. Place under the grill until the cheese has melted.

You’re done! Serve with tortillas or tortilla chips.


Duck Thai Green Curry May 11, 2015

Filed under: Curries,Favourites,Potatoes — delishuss @ 8:13 am
Tags: , , ,

I saw a recipe for a duck curry in a local newspaper recently and forgot to keep it. I thought I would give it a bash anyway, although I doubt if this recipe is anything like the one I saw. I just used my standard Thai green curry formula and it worked a treat. I had a hankering for duck the day I made this and I tend not to do things by halves so I had duck two ways. I got a pre-made Chinese duck with wraps and hoisin sauce for starters. I really should have made it myself because it was pretty gross. Maybe I’ll try and do that soon and post the recipe . This is not the most appealing looking curry but it tastes superb.

Ingredients

3 cloves of garlic

2 chillies

4 cm piece of ginger

1 lemongrass stalk

2 duck breasts, diced

200ml chicken stock

1 onion, chopped

2 sprigs coriander, chopped

3 tablespoon peanut butter

1 can of coconut milk

1 green pepper, diced

150g potatoes, diced

3 tablespoons of Thai green curry paste

Olive oil

Salt and pepper to taste

50g of chopped peanuts

1/2 lime, juiced

1 tablespoon of fish sauce

1 tablespoon of soy sauce

1 cube of palm sugar

Method

1.Roughly chop the garlic, lemongrass, chillies and ginger and then blitz in a food processor until it forms a paste.

2. Parboil the potatoes for 10 minutes.

3. Sauté the onion and pepper in a little olive oil for 5 minutes and remove from the pan and set aside.

4. Add the two sets of pastes to the pan and fry off for 3 minutes.

5. Add in the duck and fry for 5 minutes. Add the potatoes and veg and stock.

6. Mix the sugar, lime juice, soy sauce and fish sauce in a bowl until the sugar has dissolved and add to curry.

7. Simmer the curry for 20 minutes.

8. Stir in the coconut milk and chopped coriander and simmer for another 5 minutes until the sauce thickens.

9. Serve the curry with rice and sprinkle with some chopped peanuts and coriander.

IMG_20150503_120148


American Hot Pizza Pie February 11, 2015

Filed under: Favourites,Italian — delishuss @ 10:08 am
Tags: , , ,

So you’ll know if you have read my blog before that I love Jamie Oliver. He is my cooking idol. However, I must admit I find his recipes quite difficult to follow. I personally prefer each point of the cooking method numbered so that I don’t have to keep re-reading the paragraphs. I’m going to blame the recipe format for the fact that I made too much dough for each pizza and also missed what the purpose of the breadcrumbs was. Okay, okay, I will take a smidgen of blame for not reading the recipe before I bought the ingredients and started making it. Note to future self, read the recipe thoroughly both in advance of food purchasing and preparation.

I got this recipe from Jamie’s cookbook, Save with Jamie. I’m doing a 12 week health and fitness challenge, not quite sure that this recipe fits in the scope of healthy eating but it was delishuss. A little of what you like is good for you, right?

Here’s a few things that I wish I knew before I started this one. The dough recipe will make about 3×12 inch pizzas. I depends on your outlook whether you think 12 inch is medium or large :-0 I made 2×12 inch pizzas and there was too much dough. I know the intention is that it’s a pie, so it’s going to be thicker, but I found it a bit doughy to be honest.

You can freeze the uncooked, prepared pizza as well.

The breadcrumbs go on the pizza tin’s base before you add the dough. Given that I forgot to add this, I can only assume that because my pizzas stuck to the bottom of the tin that this is to prevent this happening.

So here goes (itemised method because that’s the way I like it):

Serves 4-5 people (original recipe states 8-9, I will let you be the judge).

Prep/cooking time = 1 hour + proving time

Ingredients

1kg strong white bread flour or Tipo ’00’ flour, plus extra for dusting

1x7g sachet of dried yeast

3 tablespoons extra virgin olive oil or leftover pork dripping

2 cloves of garlic, finely sliced

1 teaspoon dried oregano

1x400g tin of chopped tomatoes

Red wine vinegar

50g ciabatta or stale bread

Olive oil

350g leftover cooked pork and crackling or 6-8 quality sausages (at least 80% meat)

1 red onion, peeled and finely sliced

25 slices of pickled jalapeno or 2 fresh green chillies, finely sliced

159g cheddar cheese or mozzarella

1 heaped teaspoon fennel seeds

1 good pinch smoked paprika

Method

1. Put the flour and 1 heaped teaspoon of sea salt into a large bowl and make a well in the middle.

2. Add 600ml of tepid water to the well and stir in the yeast.

20150207_162513

3. Add the extra virgin olive oil (or the equivalent amount of leftover pork dripping, for incredible flavour), and use a fork to gradually bring in the flour, then pat together into a dough.

4. Knead on a flour-dusted surface until smooth and springy.

5. Place in a bowl, cover with a damp tea towel ( I used cling film/glad wrap) and leave somewhere warm until doubled in size (roughly 1 hour).

20150207_184907

6. Meanwhile, peel and finely slice the garlic and put it into a blender with the oregano, tomatoes and 1 tablespoon of vinegar or liquid from the jalepeno jar. whizz until smooth, season and put aside.

20150207_184712

7. In a food processor, blitz the bread into fine breadcrumbs. Oil the pizza tins, and lightly dust with the breadcrumbs.

8. Preheat the oven to 190 degrees celsius, 375 degrees Fahrenheit or gas mark 5.

9. Knock the dough back (this means taking the excess air of it), then divide into 3 and stretch or roll out each piece on the flour-dusted surface using your tin size as a gauge.

10. Place in the tins, pushing the dough up to the sides to create a crust when cooking and then let them prove for another 15-20 minutes.

20150207_190224

11. Divide the sauce between the pizza bases.

12. Finely chop the pork and any leftover crackling, or squeeze the meat out of the sausage skins, then sprinkle over the pizza.

13. Toss the slices onion in a drizzle of olive oil (prevent them cooking too quickly and burning) and scatter over the top with the sliced jalapenos or chilli and bombs of cheese.

14. Bash the fennel seeds and paprika in a pestle and mortar until fairly fine, then sprinkle over the pizzas from a height.

20150207_192904

15. At this point, you can cover the pizzas and freeze if not required.

16. Bake the pizzas for around 15-20 minutes, or until the cheese has melted and the base is golden, puffed up and crispy.

Note: you can cook the frozen pizzas straight from the freezer, just add another 30 minutes to the cooking time.

This seems like an exceptionally long recipe but it the method itself is quite straight forward, so give it a go at the weekend when you have a bit more time on your hands.

IMG_20150210_224944


South American Style Brunch February 2, 2015

I recently started following Jamie Oliver on Instagram. Okay, I’ll admit it, I have a crush on him. I just love his food. It’s just rustic, with lovely accessible ingredients. I often buy cookbooks because the recipes look fantastic but I never end up making them because the ingredients are too hard to find or the recipes are too complex and I couldn’t be bothered. I’m all about hassle free cooking and I think Jamie is the master. Anyway, Jamie posted this recipe on Instagram recently and I loved the sound of it, so decided to give it a shot during the week. The original recipe uses Quinoa but I didn’t have any in stock, I substituted it for long grain rice and it worked out quite well. I will be saving this to my favourites for sure. I went a bit light on the chilli and chilli sauce, I will be a bit braver next time around.

Serves 6

Ingredients

200g quinoa

Sea salt

Olive oil

Pinch of cumin seeds

1 x 400g black beans or black eyed beans, drained and rinsed

1 long fresh red chilli, finely sliced

1 fresh jalapeno chilli, freshly sliced

2 tablespoons white wine vinegar

A pinch of golden caster sugar

Extra virgin olive oil

Juice of half a lime

Freshly ground black pepper

6 large free range eggs

1 ripe avocado

200g of ripe cherry tomatoes, quartered

2 spring onions, finely sliced

A small bunch of fresh mint

A small bunch of fresh coriander

Hot chilli sauce, to serve

Method

1. Cook the quinoa according to packet instructions, with a good pinch of salt. Meanwhile, add a good glug of olive oil to a frying pan and place over a high heat. Once hot, add the cumin seeds and then fry for 30 seconds, then add the beans and a pinch of salt and continue cooking for 5-8 minutes, or until crisp all over.

2. While the beans are cooking, place the sliced chillies into a bowl with the vinegar, sugar and a pinch of salt and set aside.

3. Drain the quinoa well, then drizzle over a little extra virgin olive oil and lime juice and season lightly. Spread on a tray and leave aside to cool slightly.

4. Transfer the cooked beans to a bowl. Wipe the pan clean and return to a medium heat with a splash of olive oil. Once hot crack in your eggs and fry to your liking.

5. Transfer the quinoa to a large serving plate, layer the eggs on top and spoon over the crispy beans. Halve and de-stone the avocado, then scoop out and dot over the flesh. Scatter the tomatoes, spring onions and chillies on top, then drizzle of some of the pickling juice. Pick and roughly chop the mint and coriander leaves and sprinkle on top, then add a drizzle of extra virgin olive oil and serve with plenty of hot chilli sauce.

Note: I used a mixture of Jalapenos in a jar and fresh. The version in a jar comes in a pickled sauce, so I just re-cycled this with a little sugar.

P.s. If you are a Jamie Oliver fan, I would highly recommend following him on Instagram, he posts a new recipe each day.

IMG_20150129_213158


Rotisserie BBQ Chicken November 14, 2014

Filed under: Chicken,Favourites — delishuss @ 10:03 am
Tags: , ,

I find it really hard to cook chicken so that it is lovely and succulent. Marinading is probably the nearest I get with the exception of Rotisserie chicken done on the BBQ. It’s awesome. I think the reason it stays so moist is because it’s rotating all the time and it doesn’t lose all it’s juices. Plus it cooks at a low enough temperature so it doesn’t dry out. You could probably just add some olive oil and seasoning but a rub gives it a lovely flavour. This rub recipe was taken from: http://www.food.com/recipe/rotisserie-chicken-rub-484807. There’s very little involved in this process, the only tricky part is getting the chicken onto the rotisserie rod.

Rub Ingredients

1.8kg whole chicken

3/4 cup salt

1/4 cup paprika

1/4 cup onion powder

1/4 cup garlic powder

1/4 cup Italian seasoning

1/4 cup brown sugar

2 tablespoons dried thyme

2 tablespoons mustard

2 tablespoons cayenne pepper

2 tablespoons black pepper

2 tablespoons olive oil

Method

1. Pre-heat the BBQ on a low setting.

2. Mix all the ingredients in a bowl. Smear over all the chicken. You could place a lemon inside the chicken to enhance the flavour but I left it out this time around.

20141026_151606

3. When you are spearing the chicken onto the rotisserie rod make sure you try and keep the wings tight together with the body of the chicken so that they don’t dry up and overcook. If they are starting to overcook mid way through cooking, stick some tin foil on the ends.

20141026_153704

4. I placed a tray under the chicken to stop the juices/fat spilling onto the flames and starting a fire.

5. This size of a chicken takes about 1 1/2 hours. If you are worried about it being under cooked, give it a prod with a meat thermometer.

6. About a 1/2 hour into cooking, I added some chopped potatoes onto the tray. They were fantastic. They had the lovely juices from the chicken and were lovely and crispy.

20141026_163151

I served the cooked chicken with the potatoes, a garden salad and some steamed greens.

20141026_174817


Beef Ragu August 17, 2014

Filed under: Favourites,Italian,Meat,Pasta,Soups and Stews — delishuss @ 7:41 am
Tags: , , , ,

IMG_20140817_172644

I’ve been on a mini-holiday, just at home but it’s been a nice relaxing couple of days. I have been going a bit mad with the slow cooker. I made this Ragu and also pulled pork: https://delishuss.com/2014/08/16/pulled-pork-roll/. I’m really enjoying using the slow cooker at the moment. I’ve had the best results with fattier cuts of meat. I’ve tried a curry recipe with lean lamb steaks and it shriveled up to nothing. I didn’t have a recipe for this one, I just winged it. I have another recipe on the blog for ragu, I reckon this is the better of the two.

6 serves

Ingredients

1.2 kilos stewing beef, chopped into chunks

1 onion, chopped

2 medium size carrots, roughly diced

5 cloves of garlic, crushed

2 oxo cubes

250 ml beef stock

250 ml red wine

Boquet garni

1 tin chopped tomatoes

4 slices of parma ham, chopped

1 sachet of tomato paste (25g or so)

4 tablespoons of olive oil

Salt and pepper to season


Method

1. Heat a large frying pan and heat 2 tablespoon of the oil. Saute the onions and the carrots. Remove from the frying pan.

20140814_113300

2. Heat the remainder of the oil and add half of the beef. Brown and remove from the pan and repeat with the remainder of the beef. While the 2 batches is browning, add the garlic and pancetta and fry off for about 3 minutes. Add the meat and the veg to the slow cooker.

20140814_113434

3. Add the wine and the stock to the frying pan and bring to the boil. Reduce to a simmer and add the tomato paste. Simmer for 5 mins and add the sauce to the slow cooker.

20140814_115701

4. Sprinkle the two oxo cubes over the meat. Unwrap the bouquet garni. Remove some of the stalks of thyme and rosemary and take off their leaves and sprinkle over the meat. Tie the bouquet garni back up and add it to the slow cooker.

20140814_115052

5. Pour over the tin of tomatoes and stir through. Season with salt and pepper.

6. I cooked it in the slow cooker for about 6 hours on high. You could do it on low for 8 hours if you have the time.  Once it has finished cooking. Remove the bouquet garni and any large leaves of rosemary or thyme stalks.

20140814_184029


7. Serve with rigatoni pasta or any pasta of your choice. I threw the pasta into the ragu before serving to soak up some of the juices.


Note: Half way through the cooking, you can place a piece of kitchen paper on top of the liquid and soak up some of the fat on top. Some chefs recommend using slices of bread.


Pulled Pork Roll August 16, 2014

Filed under: Favourites,Meat — delishuss @ 12:55 pm
Tags: , , ,

I was a bit hesitant about trying this recipe as a friend makes a pulled pork recipe and it’s hard to beat, I wasn’t sure this would live up to it. I’m going to be a bit biased here and say it certainly does. It was a resounding success. I got the recipe off Pinterest and the website is: http://www.culinarycovers.com/2012/04/carolina-pulled-pork-sandwiches/#_a5y_p=1020314. It’s quite a simple recipe, it just takes some time to cook. Good things come to those who wait.

Serves 8

Ingredients

Pork

One 3 1/2lb (1.5kg) boneless shoulder roast pork

1 teaspoon seasoned salt (I used onion salt)

1 teaspoon paprika

2 tablespoons of canola oil

Sauce

1 tablespoon of canola oil

1 small onion, diced

1 cup vinegar

3/4 cup ketchup

1/3 cup light brown sugar

2 tablespoons spicy brown mustard

8 seedless sandwich buns

Coleslaw

3/4 cup of light mayonnaise (I used Hellman’s, it’s hard to beat in my opinion)

Salt and pepper

Slaw mix


Method

1. Heat a skillet pan. Slather the meat with the oil, seasoning and paprika. Brown the meat on all sides and remove from the heat.

20140816_103200

2. Add the oil to the pan, heat and fry off the onion for 5 minutes. Add the vinegar, ketchup, mustard and sugar. Bring to the boil, reduce the heat and simmer for 5 minutes.

20140816_104234

3. Add the meat to the slow cooker, pour over the sauce and cover. I cooked on auto for 5 hours and then high for another 2 hours. Baste the meat every hour or so to keep it moist.

20140816_105007


4. Mix all the coleslaw ingredients together and refrigerate until required.

5. Once the meat has finished cooking, remove the majority of the sauce. With two forks shred the pork.

20140816_185738

6. Half one of the sandwich rolls and fill it with the pork and coleslaw mix. Serve with some corn on the cob

IMG_20140816_224037


 http://www.pinterest.com/grainiac/recipes/


Beef Fillet with Salsa Verde January 22, 2014

Filed under: Favourites,Meat — delishuss @ 11:33 am
Tags: , , ,

I loved Gordon Ramsay’s Ultimate Cooking series on Lifestyle Food. I bought the app for my android phone but something happened to it and it stopped working. So, I treated myself to Gordon Ramsay’s Ultimate Home Cooking cookbook before Christmas. This recipe is taken from the book. While the recipe took longer than expected, I will explain as I go through the method, it was absolutely gorgeous.

A note from the main man: The beef should not be cooked to well-done, “it would be a travesty”.

Ingredients

Olive oil, for frying

1kg piece of beef fillet cut from the thick end

2 heads of garlic, halved horizontally

4 thyme sprigs

2 rosemary sprigs

Butter, for basting

Sea salt and freshly ground black pepper

For the Salsa Verde

5 anchovy fillets, reserve some of their oil

1 1/2 tbsp capers

2 garlic cloves, peeled and crushed

1 1/2 tbsp Dijon mustard

1 1/2 tbsp sherry or red wine vinegar

Extra virgin olive oil

Bunch of parsley, leaves only

Small bunch of mint, leaves only

Freshly ground black pepper


Method

1. Preheat the oven to 200 degrees Celsius/Gas 6

2. Place a heavy based ovenproof frying pan over a medium heat and add a dash of olive oil. Season the beef all over, then brown in the pan on all sides for a minute or two. Add the garlic, thyme and rosemary and roll the beef around with the herbs. Add a couple of knobs of butter and, when melted, baste the beef in it. Transfer the pan to the oven and roast for 10-12 minutes (rare) or 15-17 (medium rare). Okay, I cooked it in the oven for 15-17 minutes and it was very rare when I carved it. So I put it back in the oven sliced for another 10 minutes and it was cooked to medium to medium rare in some pieces. My recommendation is to use a meat thermometer to gauge how well the meat is cooked.

3. Meanwhile, make the salsa verde. Put the anchovies with a teaspoon of their oil, capers, garlic, a pinch of salt and half the herbs, in a mortar and pound with the pestle until a paste has formed. Stir in the mustard and vinegar. Loosen with a little oil, then stir the rest of the herbs. Mix well to your preferred consistency. Taste and adjust the seasoning as necessary.

4. Once the beef is cooked to your liking, baste it in the pan juices and transfer to a warm plate. Spoon over a couple of spoonfuls of salsa verde, cover loosely with foil and leave to rest for 10 minutes.

5. To serve, slice thickly and spoon the salsa verde alongside. I served this with potato bake and Matt Preston’s Innocent Pea Salad with Evil Porky Pepita Crunch.

Note: I’m not a big fish fan so I was worried that the anchovies could be very over-powering so I reduced the quantity to two. You couldn’t taste them in the salsa verde. I promise, non-fish lovers 😉